Follow the steps below to add a sticker printer,
Configure Back Office
go to back office–>terminal configuration–>print–>add–> sticker printer
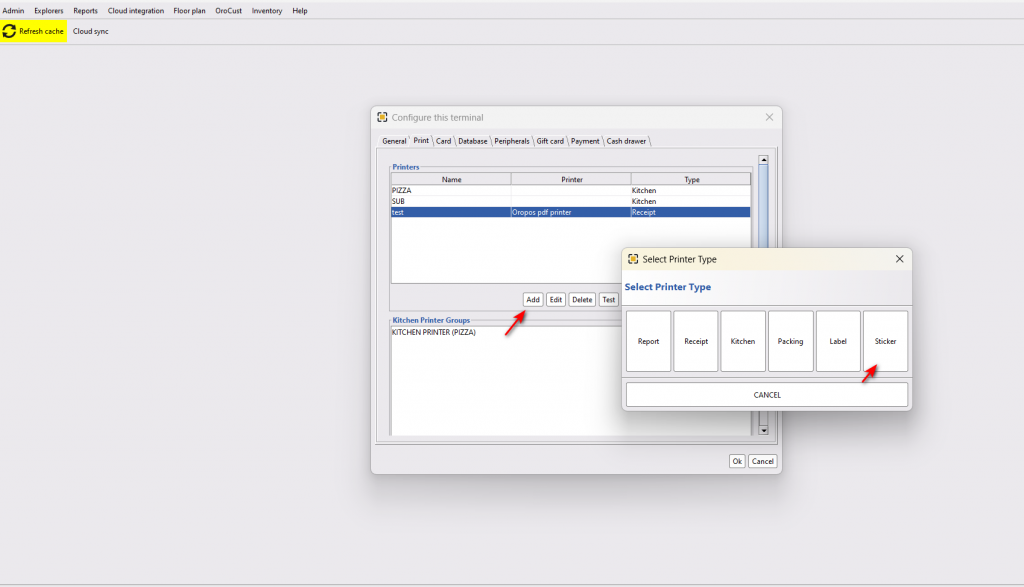
Supported Printers & Sticker Size
Any label printer that supports the following label sizes
- 2″ x 3″
- 2.125″ x 2.75″
- 2.15 x 3.14″
Our certified hardware is listed in the Hardware Section.
Enable Kitchen Sticker Printer In Menu Items
Then go to Back Office–>Explorers–>menus & others, then edit desired items you want to print in the sticker printer.
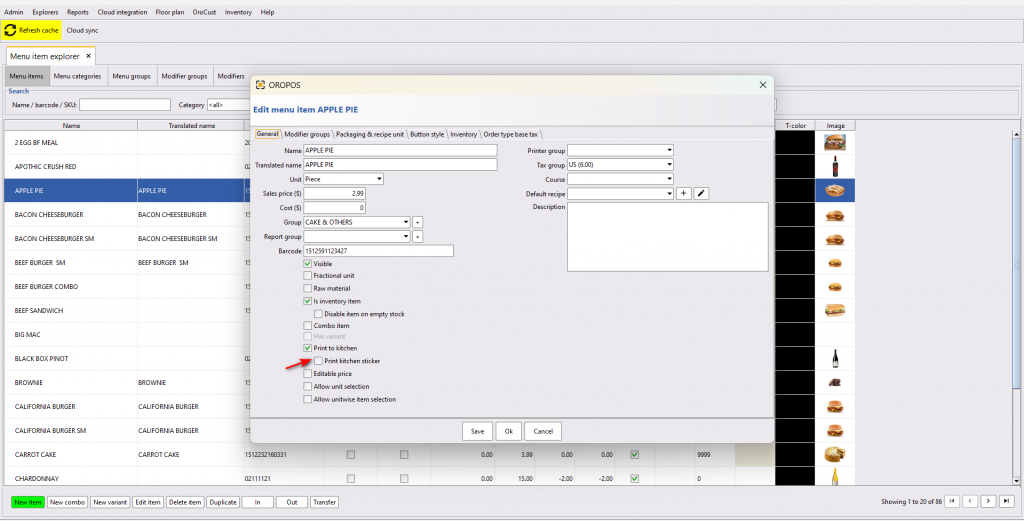
Now, when you send your menu items to the kitchen it will print each item in a separate sticker.

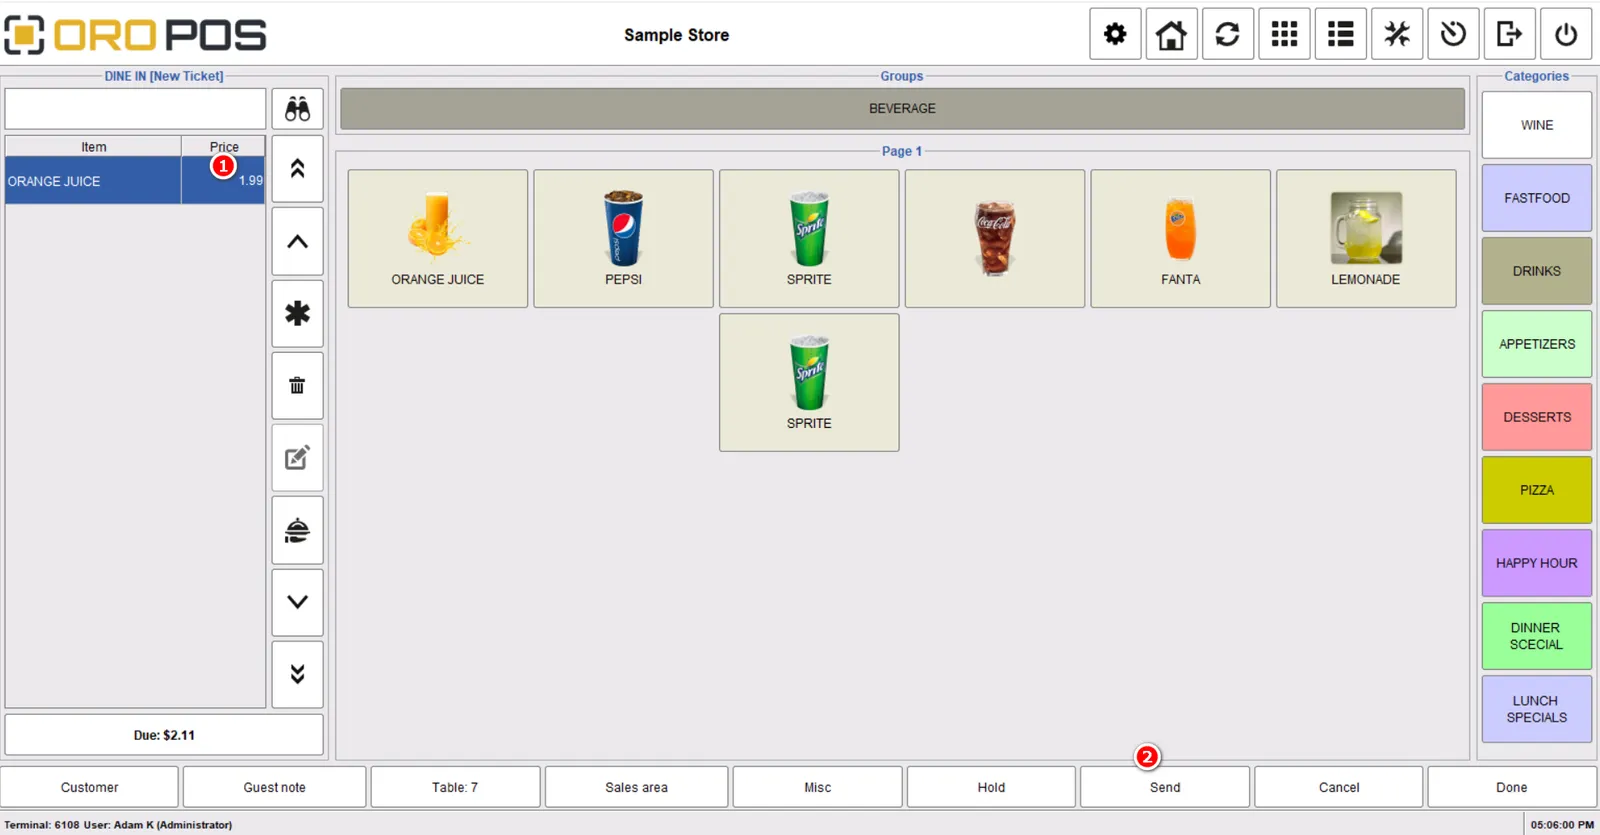
Adding Customer Name To The Sticker
Order type–> Guest Note –>Enter guest name –> select the items where kitchen sticker is enabled –> Send it to the sticker printer