

🍳 Configuring Kitchen Printer
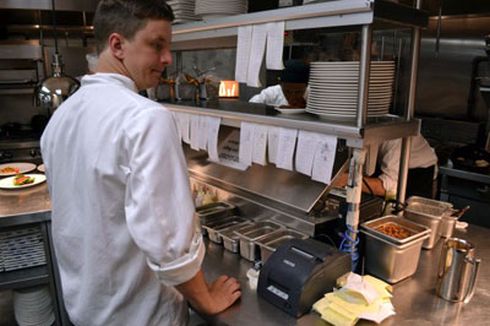
A Kitchen Printer automatically prints orders straight from the cash register to the kitchen station that prepares the food. It speeds up prep, reduces missed orders, and lets you route different items to different cook stations.
Cashier hits “Send” → ticket prints in the kitchen instantly. No one has to walk back-and-forth or shout orders. Kitchen tickets are sometimes called “chits” or “kitchen receipts”.
🎯 Why Use Kitchen Printers?
| Problem | How Kitchen Printer Solves It |
|---|---|
| 📢 Server shouts orders to kitchen | Order prints automatically — no shouting |
| 🤔 Kitchen forgets modifications | Mods printed clearly on the chit |
| 🚶 Server walking back & forth | Server stays on the floor — saves time |
| 🥘 Hot food + cold appetizer mixed up | Route to different stations (grill vs salad) |
| 📋 Lost tickets, wasted food | Permanent printed record |
| 🔥 Inkjet/laser printers melt in heat | Impact printers handle kitchen heat & humidity |
Impact printers are slower than thermal/inkjet, but they’re the only kind that survive a hot, greasy, humid kitchen. Thermal paper turns black in heat — impact paper doesn’t.
🏪 Real Restaurant Examples
📌 Example 1: Casual Restaurant (3 Stations)
| Station | Prints |
|---|---|
| 🔥 Grill | Burgers, steaks, chicken |
| 🥗 Cold Station | Salads, sandwiches, desserts |
| 🍺 Bar | Drinks, cocktails, beer |
📌 Example 2: Pizzeria (4 Stations)
| Station | Prints |
|---|---|
| 🍕 Pizza Oven | All pizzas, calzones |
| 🍝 Pasta Station | Pasta, lasagna, baked dishes |
| 🥗 Salad Bar | Salads, antipasto, bruschetta |
| 📦 Packing | Takeout/delivery final assembly |
📌 Example 3: Sushi Restaurant (2 Stations)
| Station | Prints |
|---|---|
| 🍣 Sushi Bar | All sushi, sashimi, rolls |
| 🔥 Hot Kitchen | Tempura, ramen, teriyaki |
🎭 Virtual Printer vs Physical Printer
ORO POS uses a clever 2-layer setup: Virtual printers are names you create. Physical printers are the actual hardware. You connect them together.
The Concept
| Layer | What It Is | Example |
|---|---|---|
| 🏷️ Virtual Printer | Just a name in your database | “Grill Printer”, “Bar Printer” |
| 🖨️ Physical Printer | The actual hardware | Epson TMU220, Star SP742 |
📌 Why It’s Brilliant
Imagine the grill printer breaks. You replace it with a different model.
- ❌ Without virtual layer: All menu items pointing to old printer break
- ✅ With virtual layer: “Grill Printer” name stays the same. Just point it to new hardware. Zero menu changes needed.
📦 Printer Groups & Routing
Each menu item is connected to one printer group. The group can have one or many printers. When the cashier hits “Send”, the item prints to every printer in that group.
📌 Real Example: 4 Groups for a Café
| Group | Printers in Group | Example Items |
|---|---|---|
| 🍳 Kitchen | Kitchen Printer | Sandwiches, soups |
| 🔥 Grill | Grill Printer | Burgers, paninis |
| 🍳🔥 Kitchen + Grill | Kitchen Printer + Grill Printer | Cheese Sandwich (needs both) |
| 📦 Packing | Packing Printer | Takeout label / final assembly chit |
For example: “Cheese Sandwich” → assigned to “Kitchen + Grill” group → prints at both stations simultaneously.
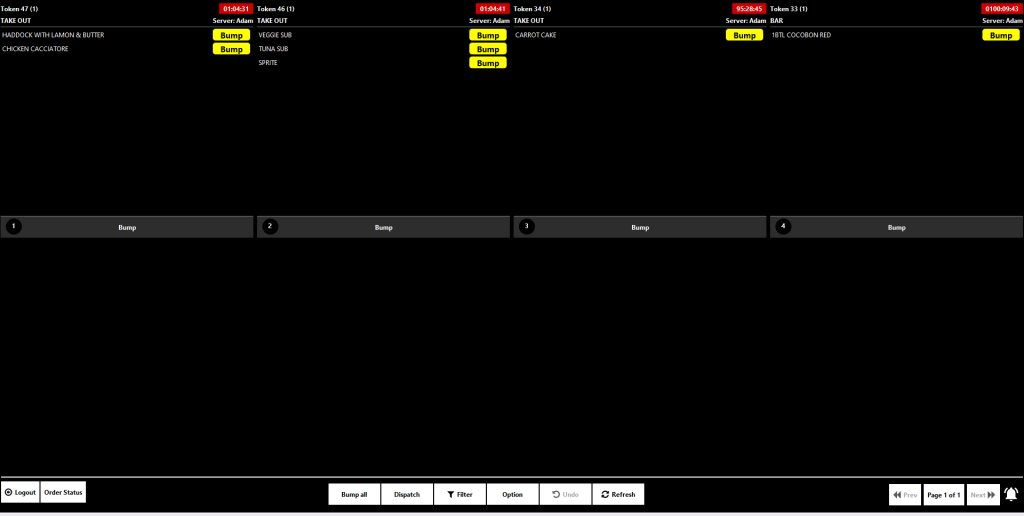
Don’t want paper chits? ORO POS supports Kitchen Display Systems (KDS) — kitchen orders show on a screen instead of printing. Faster, no paper waste.
📄 Paper Sizes
| Size | Common Use |
|---|---|
| 76 mm (typical Impact) | Standard kitchen impact printers |
| 80 mm | Wider receipt-style chits |
| 58 mm | Compact, small printers |
🛠️ How to Configure a Kitchen Printer
Path: Back-Office → Admin → Terminal Configuration → Print
| Step | Action |
|---|---|
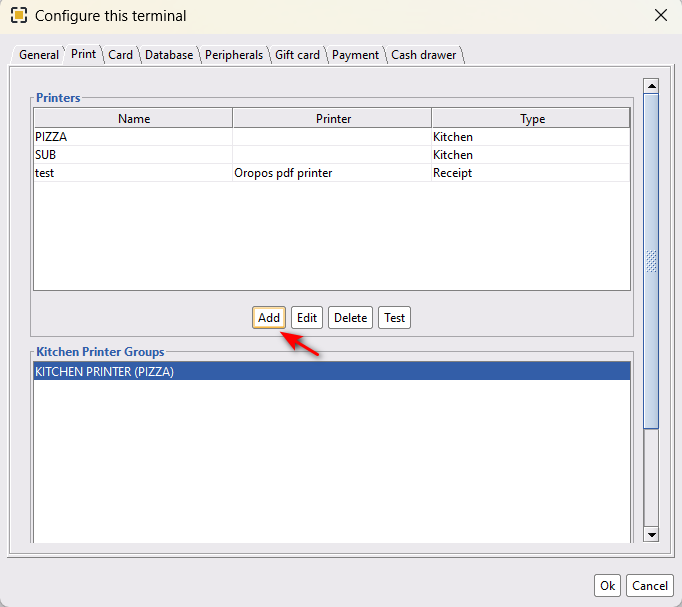
| 1 | Click Print tab |
| 2 | Click Add to add a new kitchen printer |
| 3 | Name your printer (e.g., “Grill Printer”) |
| 4 | Select Print Mode: Standard or ESC/POS |
| 5 | Select your Device (install drivers first!) |
| 6 | Click OK |
| 7 | Click Create New to make a printer group |
| 8 | Add one or more printers to the group |
| 9 | Click OK to save |
| 10 | Restart the system → test by sending an order |
You must install the device driver on the terminal before the printer will appear in the dropdown. Get drivers from the printer manufacturer’s website.
🍔 Assign Printer Group to Menu Items
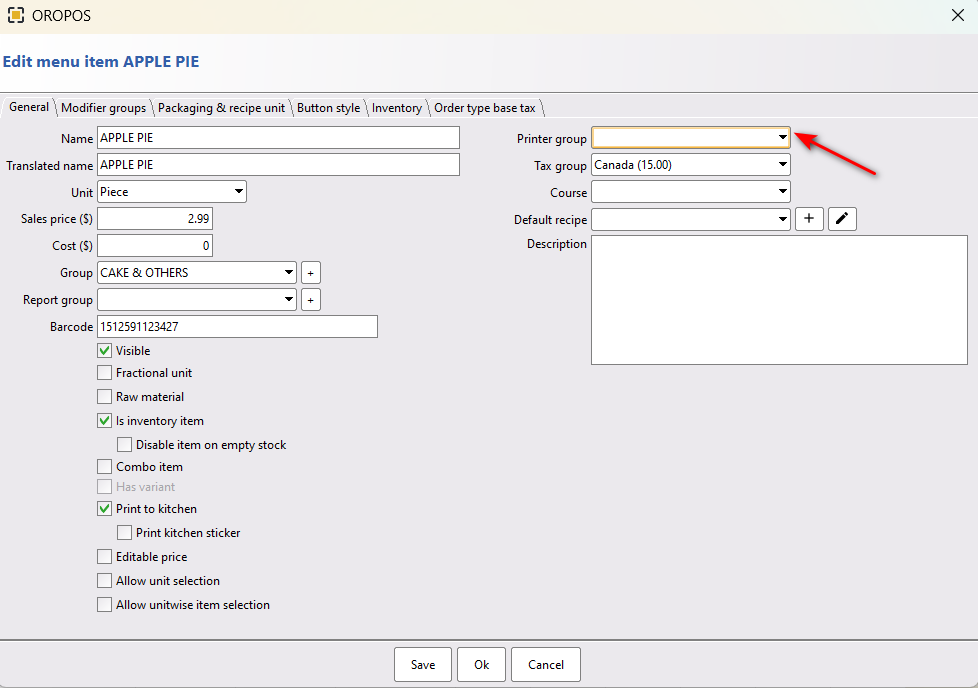
Edit a menu item → select the printer group it should print to.
📌 Two Scenarios:
| Scenario | What to Do |
|---|---|
| Single printer group (small store) | Mark it as Default. No need to assign to each item. |
| Multiple groups (multi-station) | Assign each menu item to the right group |
If an item has no group assigned, it will automatically print to the default printer group.
⚡ Standard Mode vs ESC/POS Mode
| Feature | Standard Mode | ESC/POS Mode |
|---|---|---|
| 📐 Layout | Graphics | Text only |
| 🚀 Speed | Regular | 3-5x faster |
| 🌐 HTML support | HTML 3 | None |
| 🎨 Modifier color | Black or Red | Black or Red |
| 📏 Font sizes | More options | Fewer options |
Choose ESC/POS for high-volume kitchens — speed matters more than fancy formatting. Choose Standard if you want graphical receipts with logos.
⭐ Best Practices
| Tip | Why |
|---|---|
| Use impact printers in the kitchen, not thermal | Thermal paper turns black in heat |
| Always create a printer group, even with one printer | Required by the system |
| Use descriptive group names (“Grill”, “Bar”) | Makes item assignment intuitive |
| Set one group as default | Items without group still print somewhere |
| Use ESC/POS for high-volume kitchens | 3-5x faster than Standard mode |
| Install device driver first | Otherwise the device dropdown is empty |
| Test by sending a real order | Verify formatting + paper feed before service |
| Keep spare paper rolls in stock | Running out during rush is painful |
📚 Related Guides
| → Receipt Printer | → Kitchen Stickers | → Kitchen Display (KDS) |
📞 Need More Help?
Visit guide.orocube.com or contact helpdesk@orocube.net