
To import a bulk amount of new items into the system, use an Excel spreadsheet. Follow the steps below to get started.
Step 1: Open the Import Menu
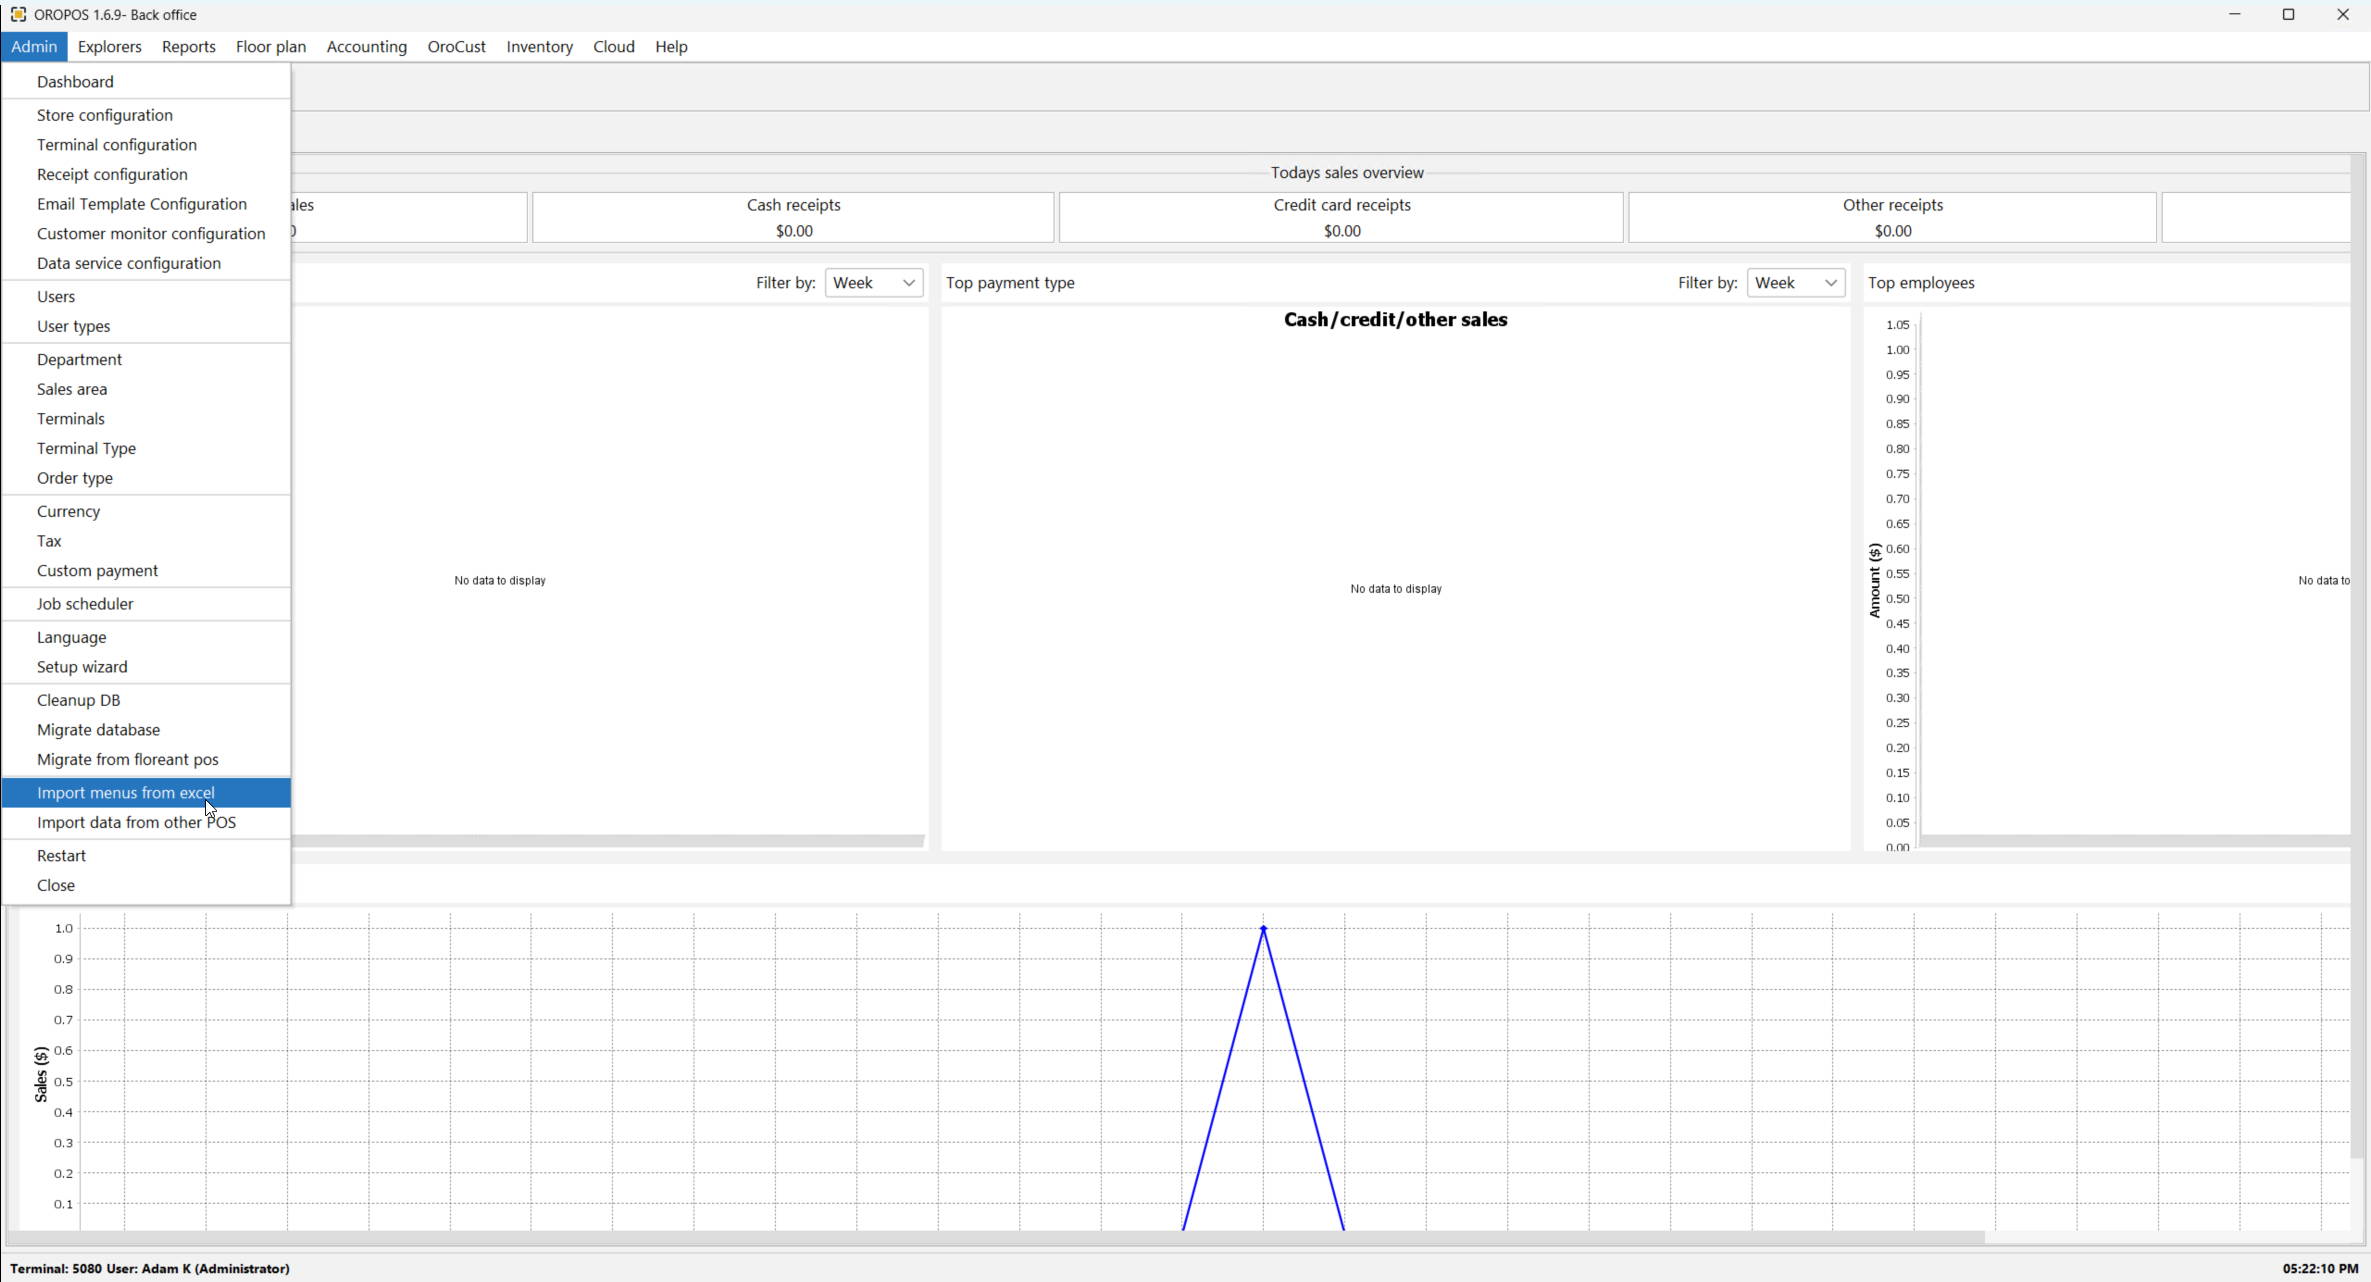
In the application, navigate to Backoffice → Admin → Import Menu from Excel.
Step 2: Download the Spreadsheet
Download the Product Import Spreadsheet and open it in Excel.
Step 3: Fill Out the Spreadsheet
First populate the main items. If you have modifiers, fill out the modifiers section as well. After importing you can attach modifiers to items.
Required Columns
The following columns are required. If any required column is missing or filled out incorrectly, the system will reject the file.
- Product Category
- Product Group
- Product Name
- Price
- SKU / Barcode
- Active (Yes or No)
Optional Columns
- Product Class
- Product Description
- Cost
Modifier Columns
If your products have modifiers, fill out the modifier section of the spreadsheet with the following columns:
- Modifier Class
- Modifier Group
- Modifier Name
- Modifier Description
- Price
- Cost
- SKU
- Active
- Pizza Modifier
- Button Color
Important Notes
1. Categories
Any new category or subcategory imported through the spreadsheet will be automatically populated in the backend under Products → Categories.
2. Avoid Category Duplication
Category/Subcategory duplication will result if capitalization and spacing do not match across products. For example, if your spreadsheet contains Drinks, DRinks, and Drinks in the Category column, they will populate as three separate categories in the backend. Use the click and drag function to rapidly populate all relevant fields consistently.
3. SKU and Barcode Rules
- Every product must have a SKU and/or a Barcode. You can keep the Barcode empty or use the same value as the SKU.
- SKUs and Barcodes must be at least 4 characters long. Barcode length is limited to 16 characters.
- Allowed characters: letters, digits, periods, dashes, and commas. Underscores are also allowed for SKUs.
- SKU and Barcode values are used as a reference by the system for any edits made after the product is imported. Click and drag can also assist in populating sequential numbers across cells.
4. Active Status
Setting Active to Yes means the product will be displayed on the POS. Setting it to No will still upload the product to the management console, but it will be inactive and not appear on the POS.
Step 4: Upload the File
Once the spreadsheet is complete, save it. Return to the Import Products page, click Choose File, select your spreadsheet, and click Import. It is not necessary to delete the instruction text from the spreadsheet before importing.
Step 5: Review the Staging Screen
After uploading, the system will display a staging screen showing a preview of all items that are about to be imported. Review the list carefully before committing.
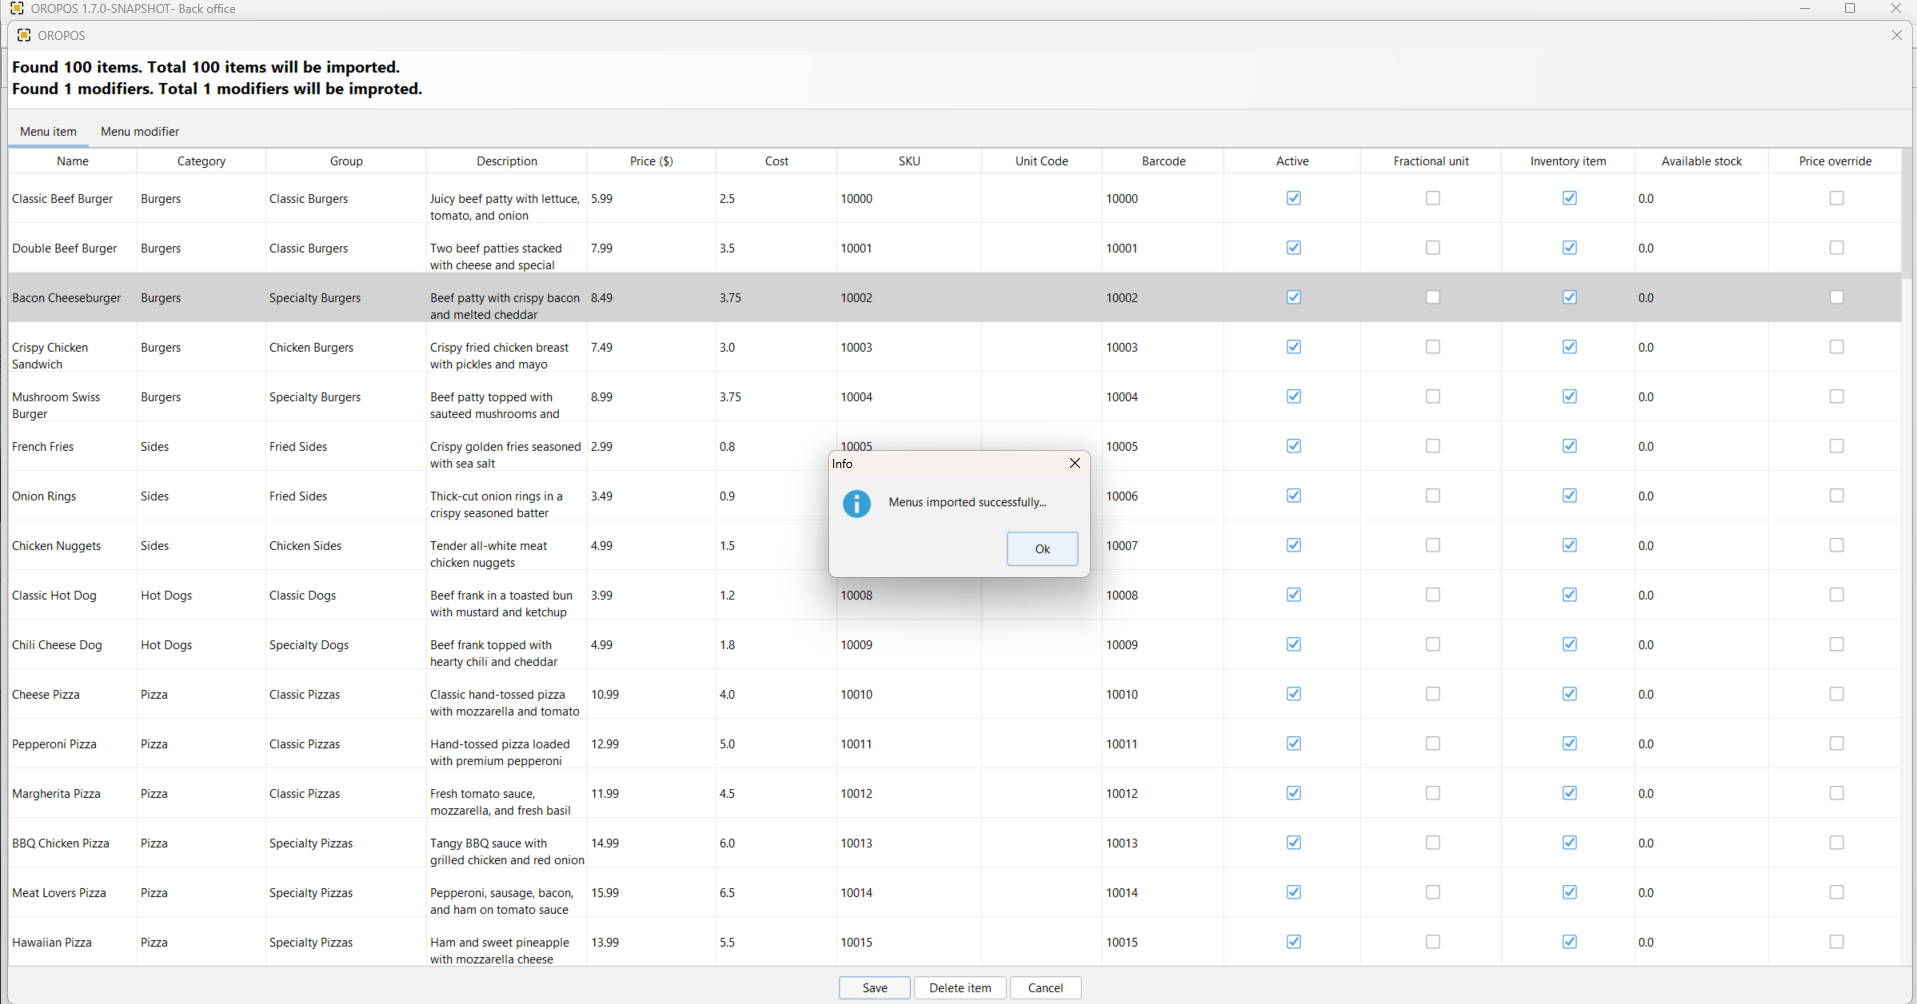
- You can remove unwanted items from the list before confirming the import.
- Switch to the Modifiers tab at the top to review any modifiers that will be imported alongside your products.
- When you are satisfied with the list, press Save to confirm and complete the import.
You must use the supplied spreadsheet template. Creating a different spreadsheet or modifying the column structure may cause the import to fail.