

ORO POS allows printing labels for products. This feature is available through the inventory plugin. It helps the retail stores mostly and some restaurants to print the label and scan it for quick check out.
Printing labels has three steps.
- Arrange supported printer and paper.
- Add label printer.
- Configure the label print option.
- Add items and print.
Arrange supported printer and paper
We support LabelWriter 450 Turbo and paper size 2.25″ x 1.25″. To know more about the supported label printer, please visit our site.
Add Label Printer
Like other printers, add a label printer from back-office–> admin–>terminal configuration–>print–>add–>label printer(add a printer of your choice. The cheapest solution could be LabelWriter 450 Turbo. Please install the printer driver prior to adding the printer. In my case for testing purposes, I used ORO POS pdf printer.)
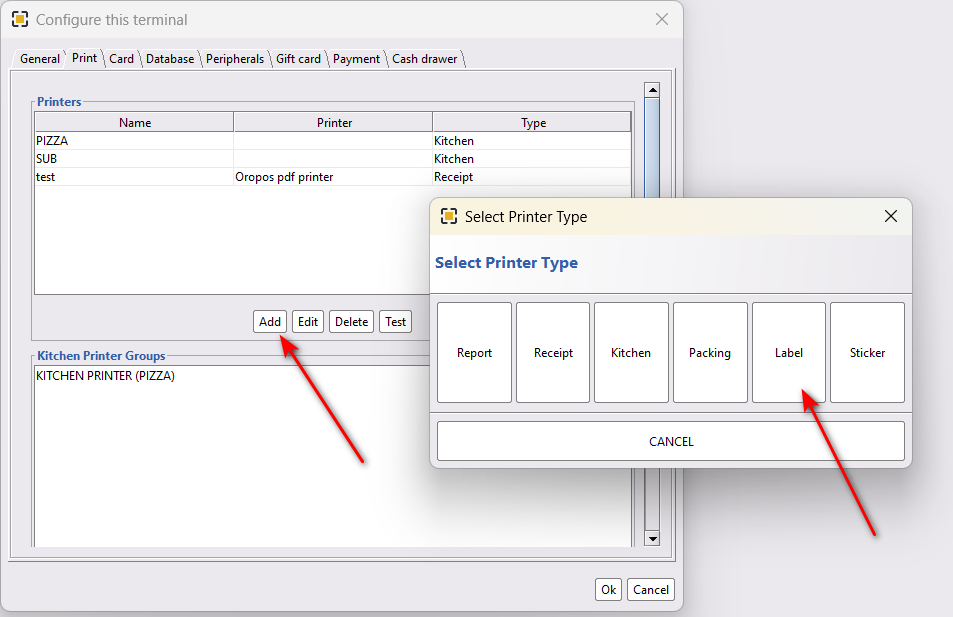
- Click on Print.
- Click on Add to add a label printer.
- Name your printer.
- Select the printer system.
- Select the device. (Install the device driver before to find your device here.)
- Press OK to save the settings.
- Press OK to save all the printer settings.
Now, restart the POS to have the changes.
Configure the label print option
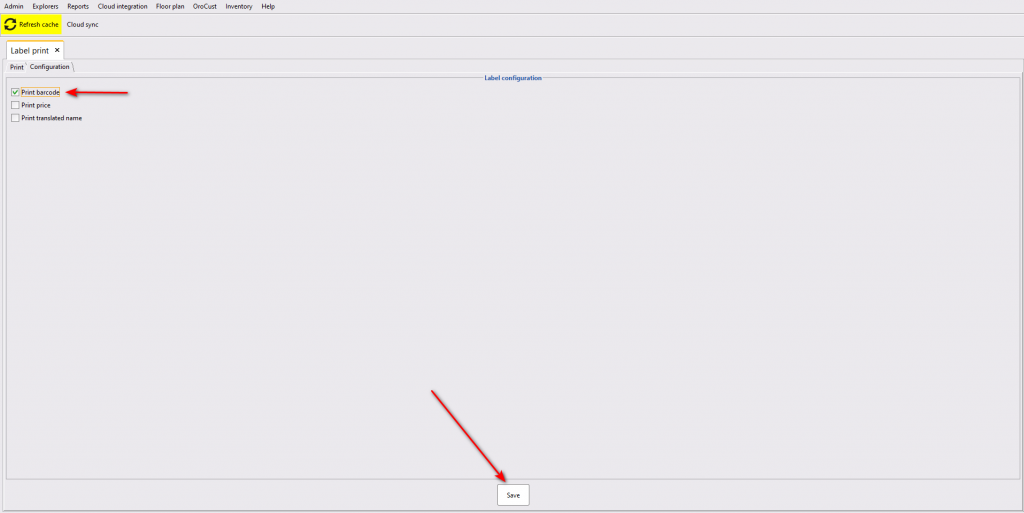
To configure the label print option go to back-office–> inventory–> print label–> configuration–> select print barcode and print price and save the settings.
- Click on Inventory.
- Click on Label Print.
- Come to the Configuration tab.
- Select Print Barcode.
- Select Print Price(If require).
- Save the settings.
Add items and print
On the same Label, Print page goes to the print tab. Then add menu items of your choice and print the labels for them.
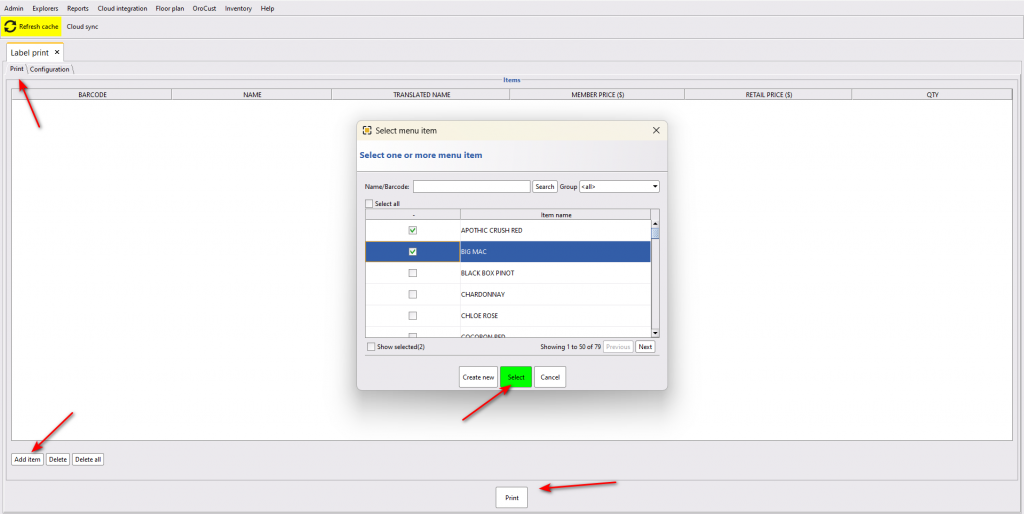
- Come back to the Print tab.
- Add menu items.
- Select the items of your choice.
- Click on Select will show the selected menu items on the grid.
- Print the labels.
Some of the printed labels are as follows,
