
🛒 Kiosk Order Taking Process
Once your Kiosk is configured and connected to ORO POS, customers can place orders in just 6 easy touchscreen steps.
Make sure your Kiosk is set up first. See: Kiosk Configuration & Installation
1️⃣ Home Screen
Customers choose between Dine In or Take Out. The home screen can show your restaurant logo, welcome message, and promotions.
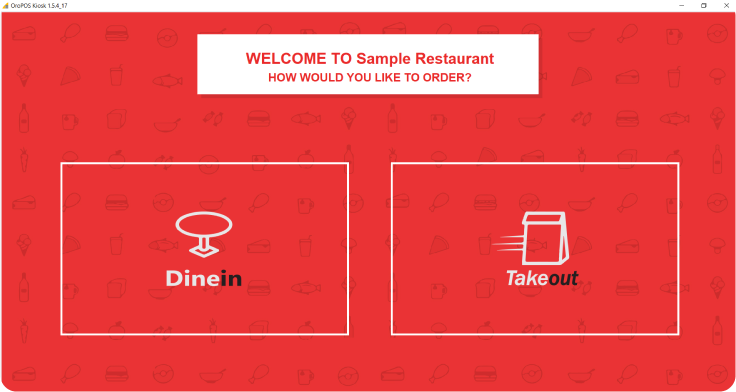
You can customize the welcome message, background, and logo to match your restaurant’s brand.
2️⃣ Menu Screen
Items are organized by categories (Fastfood, Drinks, Raws, etc.) with pagination and subcategory selection. Customers can browse easily on the touchscreen.

Since the Kiosk uses your ORO POS database, any menu changes you make in POS instantly appear on the Kiosk. No separate menu management needed.
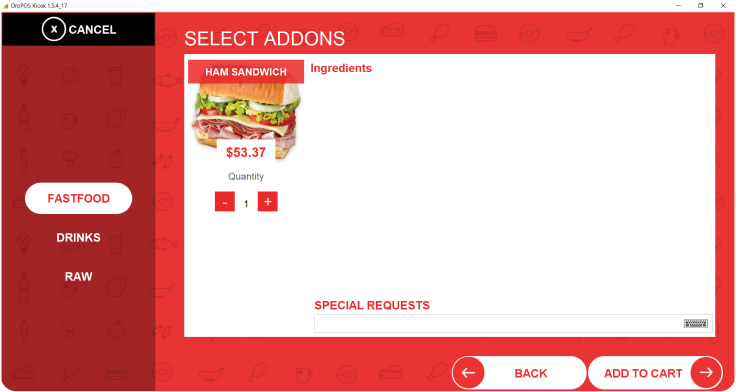
3️⃣ Item Detail
When a customer taps an item, they see product information, quantity selection, and any modifiers/options.
4️⃣ Special Requests
Customers can add special instructions like “Extra onion” or “No pepper” right from the Kiosk.
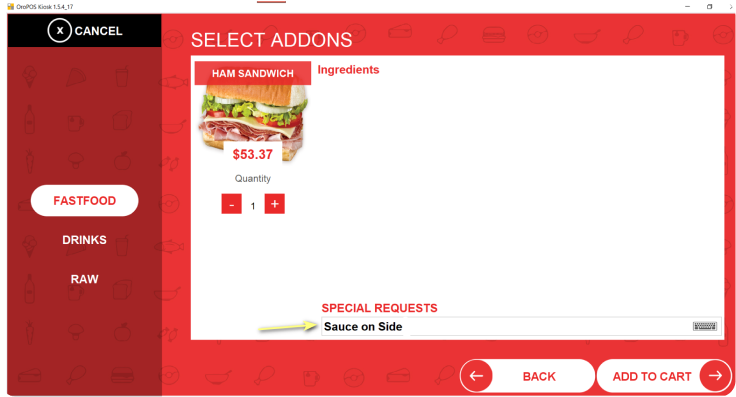
Special instructions are printed on the kitchen ticket just like staff-entered orders.
5️⃣ Shopping Cart
Before checkout, customers review their full order — items, modifiers, special requests, and total.
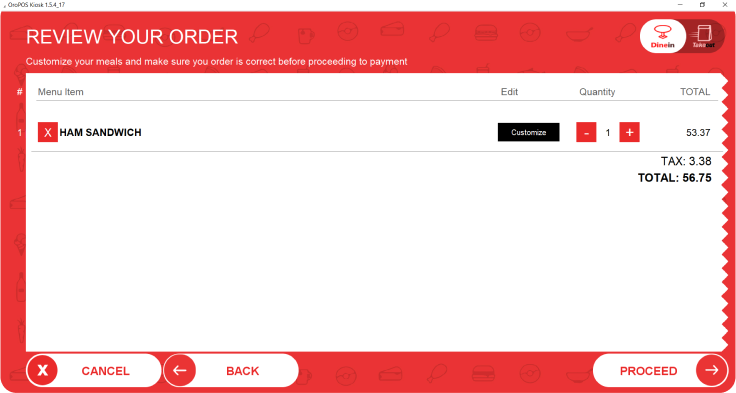
From the cart, they can:
- ✏️ Edit quantities
- ❌ Remove items
- ➕ Add more items
- ✅ Proceed to payment
6️⃣ Payment
Customer selects payment type and method. Options include:
- 💳 Pay at Kiosk — credit card on the kiosk reader
- 💵 Pay at Counter — order goes to POS as open ticket; cashier collects payment

Helpful for stores without integrated kiosk payment hardware. Customer places order on Kiosk → order goes to POS → customer pays at the counter when food is ready.
📞 Need More Help?
Visit our knowledge base at guide.orocube.com or contact support at helpdesk@orocube.net